
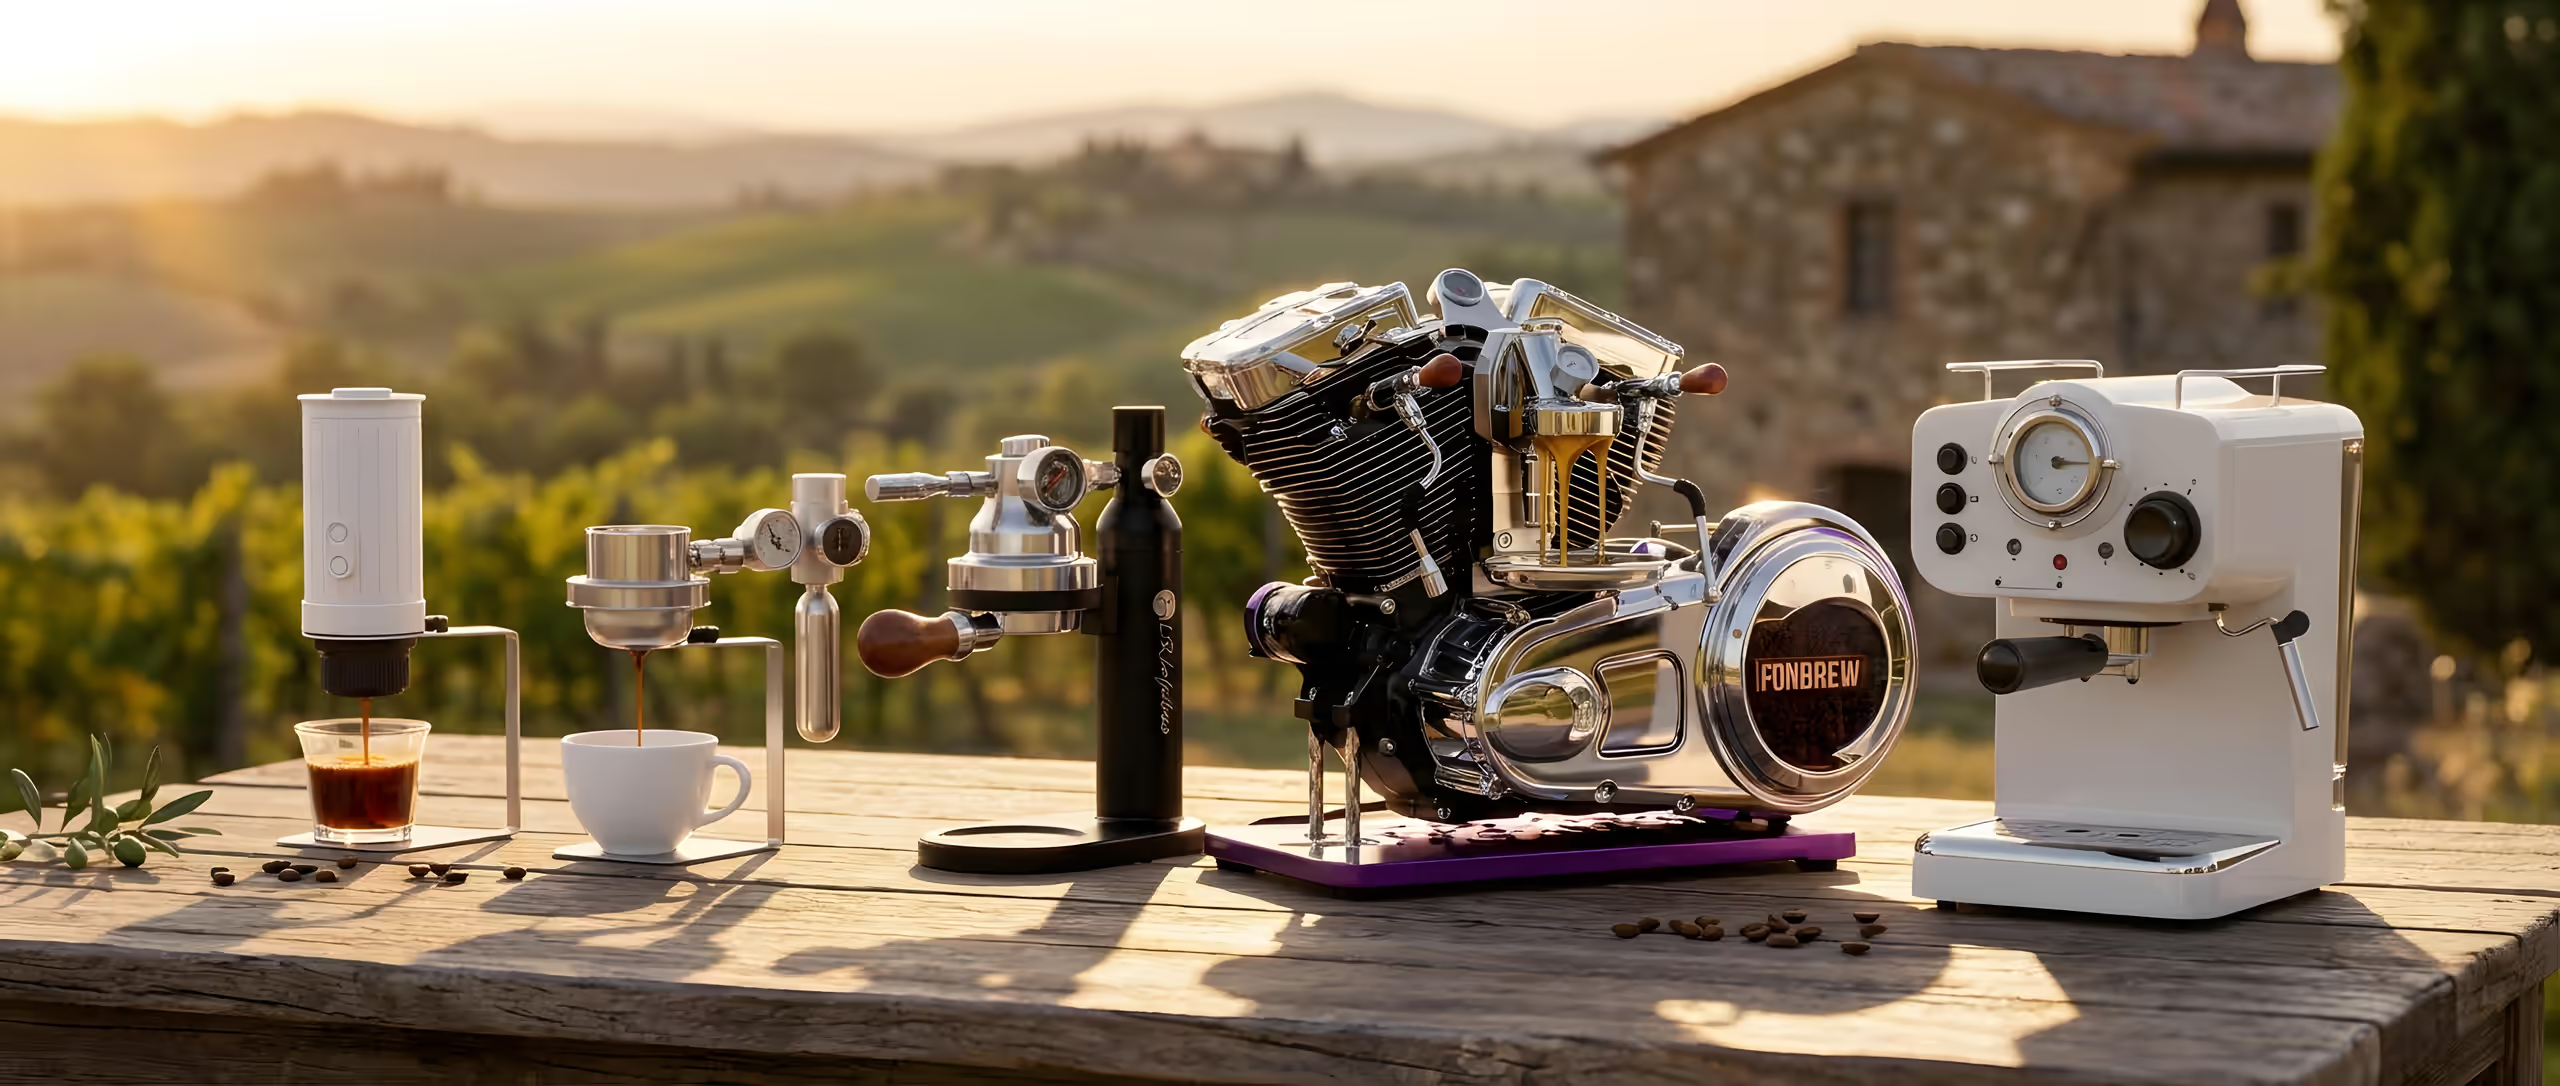

The 100-Shot Maintenance Audit: How to Inspect and Replace Portable Espresso Pressure Seals Before Big Trips
Last year, while I was testing gear on a dusty backcountry trail in Utah, a cracked O-ring almost cost me my morning espresso. That lesson became part of the ViBrew story—and inspired this maintenance check. If you rely on off-grid, manual brewing setups like the
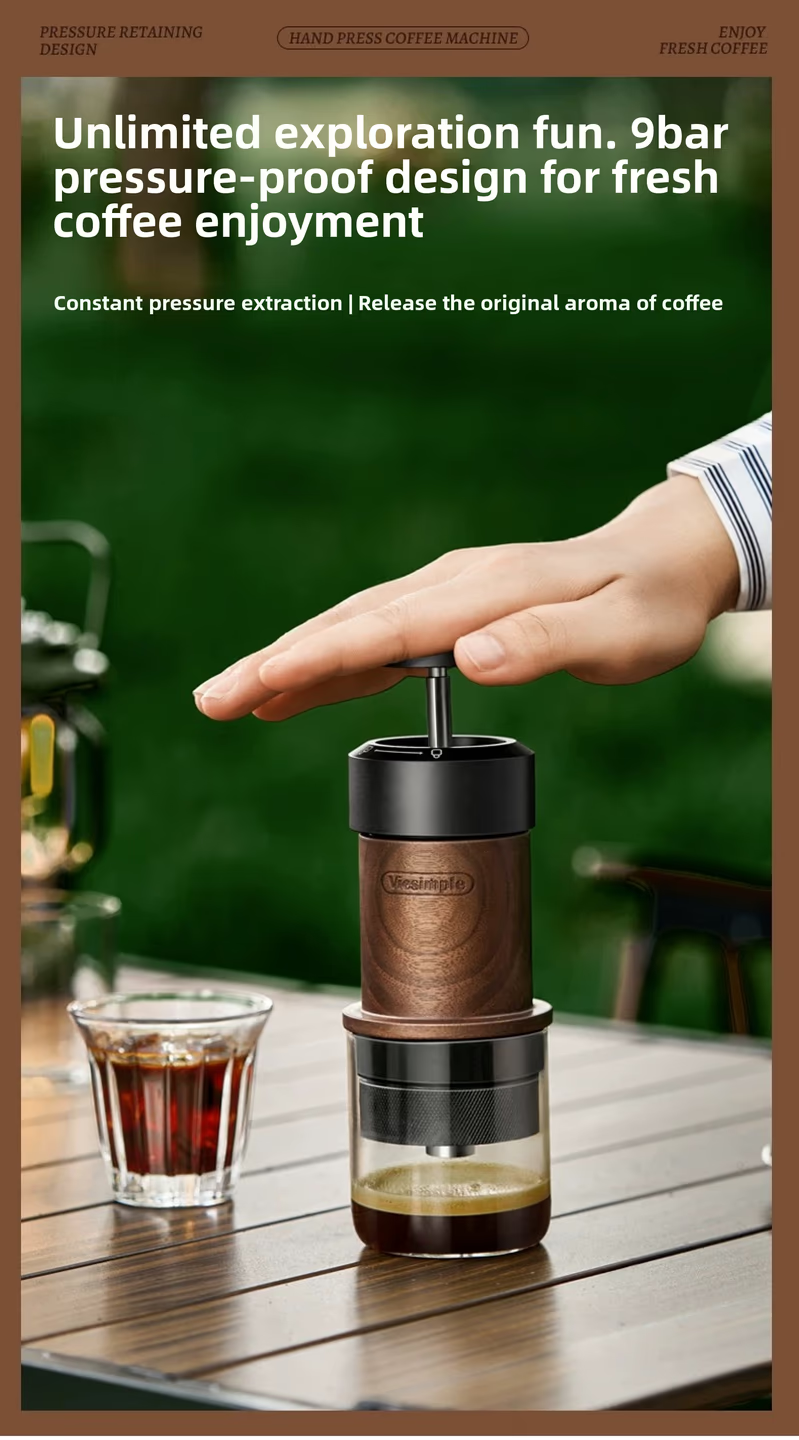
Nomads - Pulse
$139.00
Shop Now →The 100-Shot Maintenance Audit: How to Inspect Your Gear
Running through a seal inspection takes less than five minutes before you leave home:
1. Visual Degradation Check: Dismantle the brew head and inspect silicone gaskets and O-rings. Look for flattening, dry micro-cracks, or sticky coffee oil buildup that prevents a clean seal. 2. The Dry Pressure Test: Reassemble your press empty (no grounds or water) and apply pressure. If you hear air hissing out around the chamber seams, your seal is failing. 3. Deep Clean & Lubricate: Wash gaskets in warm, soapy water. Apply a microscopic dab of food-grade silicone grease to keep rubber supple.
Replacing Seals Before You Hit the Road
If your audit turns up wear, swap the seal immediately. For mobile setups like the auto-heating
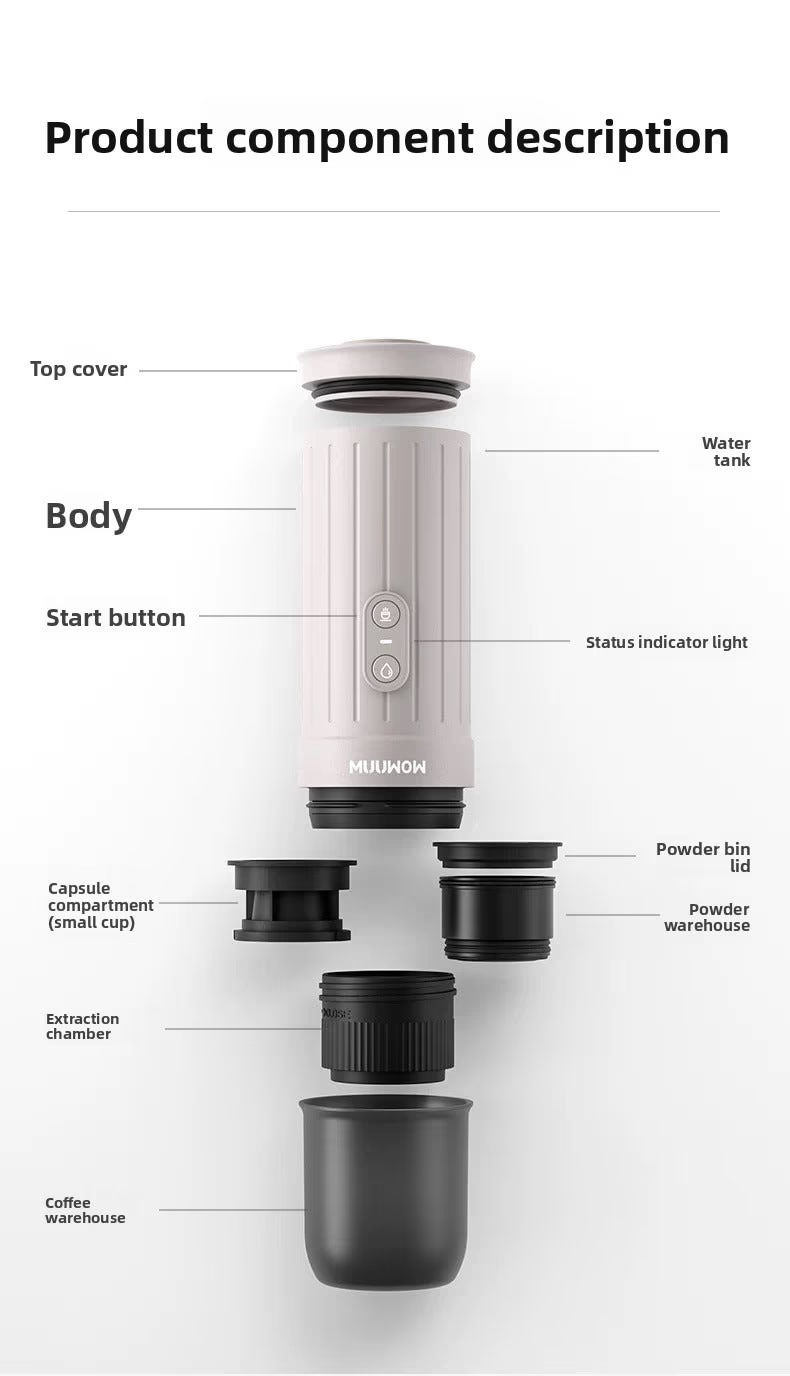
Nomads - Ember
$159.00
Shop Now →Ready for the Next Chapter
By performing The 100-Shot Maintenance Audit: How to Inspect and Replace Portable Espresso Pressure Seals Before Big Trips regularly, you guarantee commercial-quality espresso no matter how far off the grid your adventures take you.
Clean your gear, pack extra seals, and keep exploring. See you on the trail!
Got questions? Want to chat about your perfect espresso setup?