The Fat Bike Barista: How to Pack and Insulate a Portable Espresso Kit for Sub-Zero Trail Rides
During my early ViBrew prototyping days—back when I was dragging gear through deep snowbanks just to see if our designs could survive real winter wilderness—I learned that freeze-proofing your setup comes down to minimalism and thermal retention. For deep backcountry rides, you need gear that won't fail when the temp plummets. I always pack the
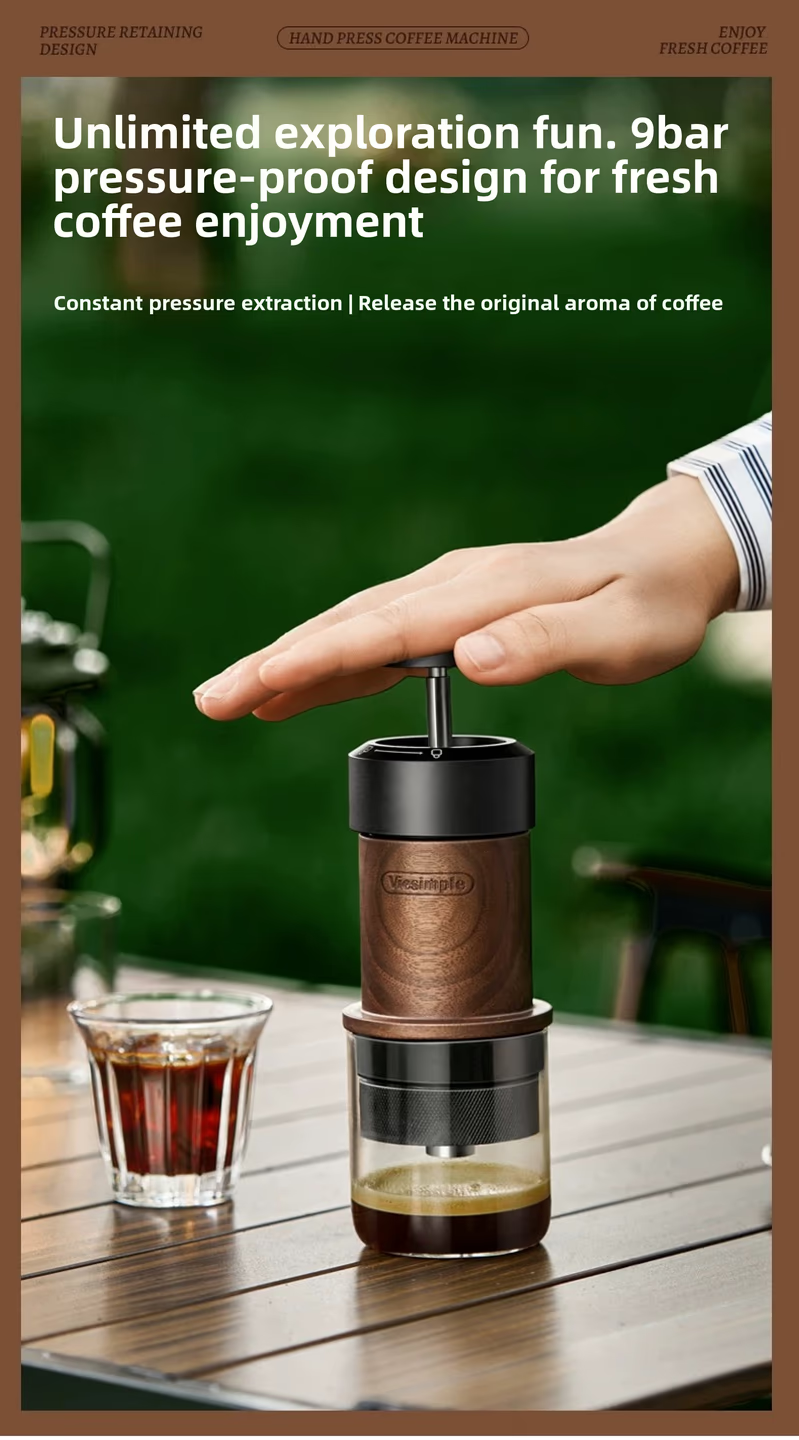
Nomads - Pulse
$139.00
Shop Now →The Fat Bike Barista: How to Pack and Insulate Your Kit
When you're miles out on a snowy trail, every degree of heat counts. Here is how to keep your espresso piping hot in freezing conditions:
Use an Insulated Frame Bag: Keep your brewer tucked in a frame bag nestled against your extra layers or hot water thermos rather than exposing it to icy wind chill on your handlebars. Pre-Heat Everything: Always flush your brewer with boiling water before adding coffee grounds. Cold metal or plastic will instantly strip heat from your shot. * Opt for Auto-Heating When Needed: If you want to skip carrying a separate boiling thermos, consider the
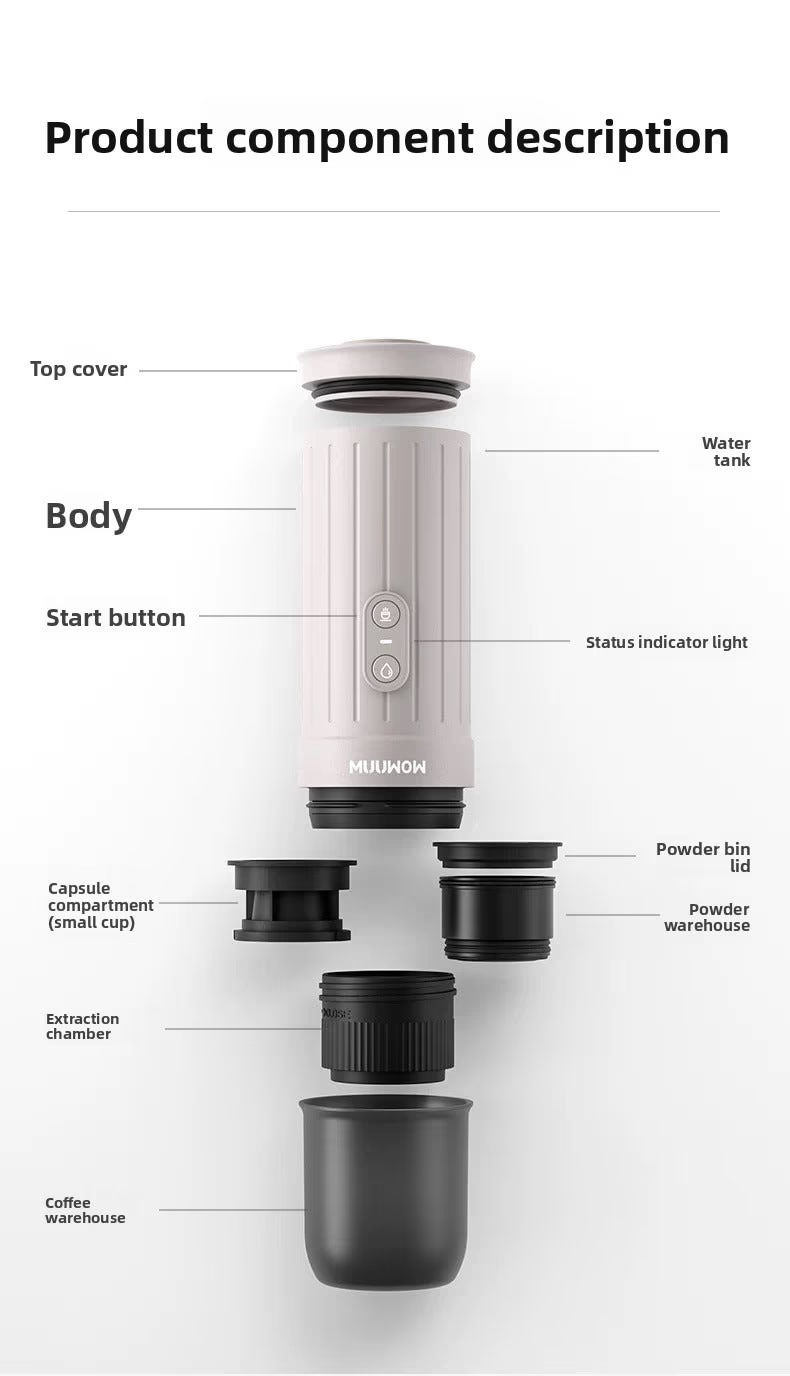
Nomads - Ember
$159.00
Shop Now →Enjoying the Sub-Zero Extraction
Once you’ve dialed in your packing strategy, pull over at a scenic overlook, shield your setup from the wind, and press your shot. Taking a moment to sip a thick, steaming espresso while surrounded by silent, snow-covered pines makes every freezing pedal stroke worth it.
Pack smart, insulate well, and keep writing your own trail adventures one shot at a time.
Got questions? Want to chat about your perfect espresso setup?