The Pre-Trip Pressure Check: How to Leak-Test and Field-Calibrate Portable Espresso O-Rings
I learned this lesson the hard way years ago during a solo trek through the desert; a dried-out rubber seal sprayed boiling water everywhere except into my cup. If you rely on manual gear like the
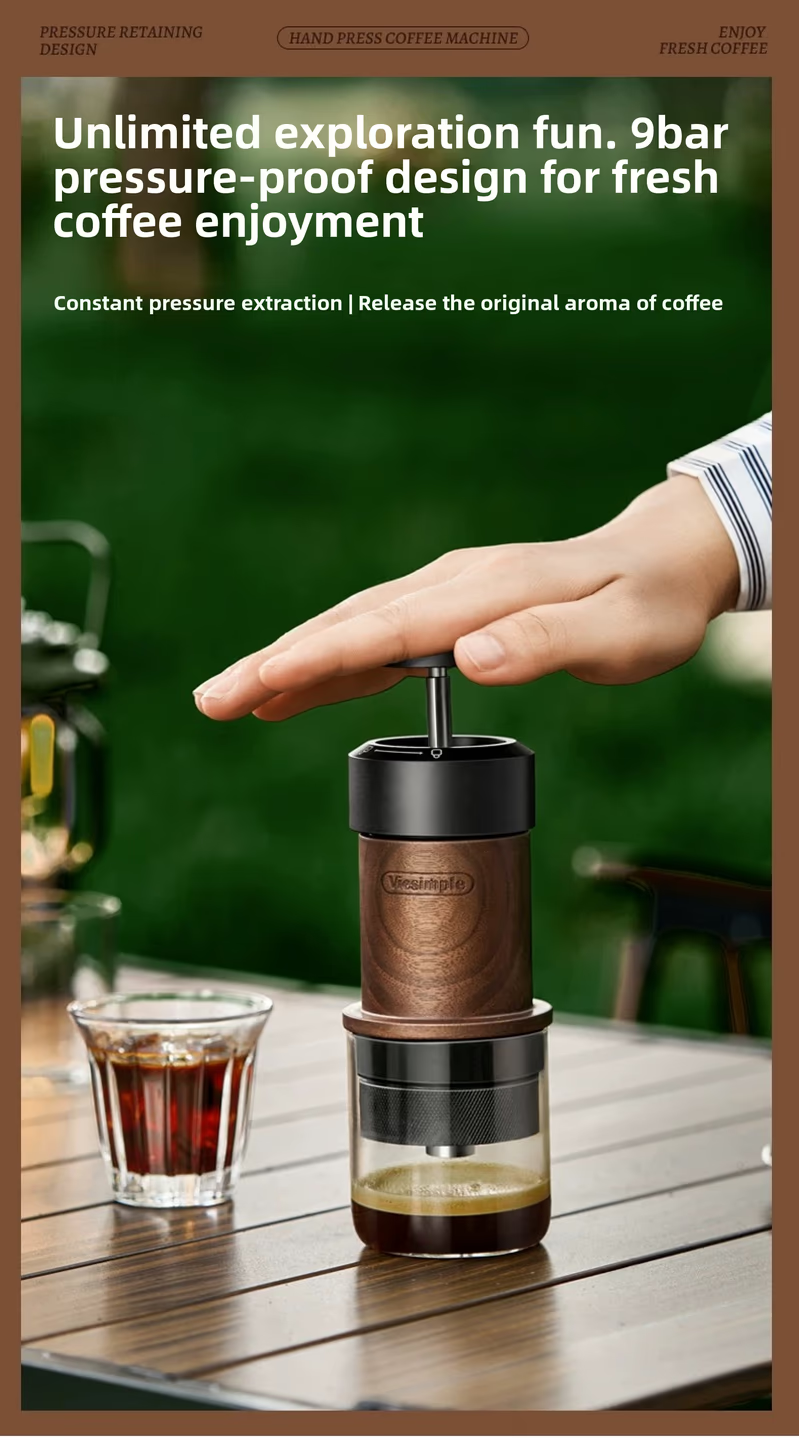
Nomads - Pulse
$139.00
Shop Now →The Pre-Trip Pressure Check Ritual
A proper pre-trip pressure check takes less than five minutes at your kitchen sink, saving you from ruined brews on the trail.
1. Visual & Tactile Inspection: Remove the main sealing O-rings. Clean off residual coffee oils and check for tiny micro-tears, grit, or flattening. 2. Thermal Expansion Test: Fill the chamber with hot water—without coffee grounds—and lock the assembly tightly. 3. Dry-Press Leak Test: Apply manual pressure slowly over a sink. Watch the seam between the chamber and the filter basket. If you see water beads or tiny bubbles escaping, your O-ring isn't seating correctly.
For travelers who prefer one-touch brewing with auto-heating, running this check on gear like the
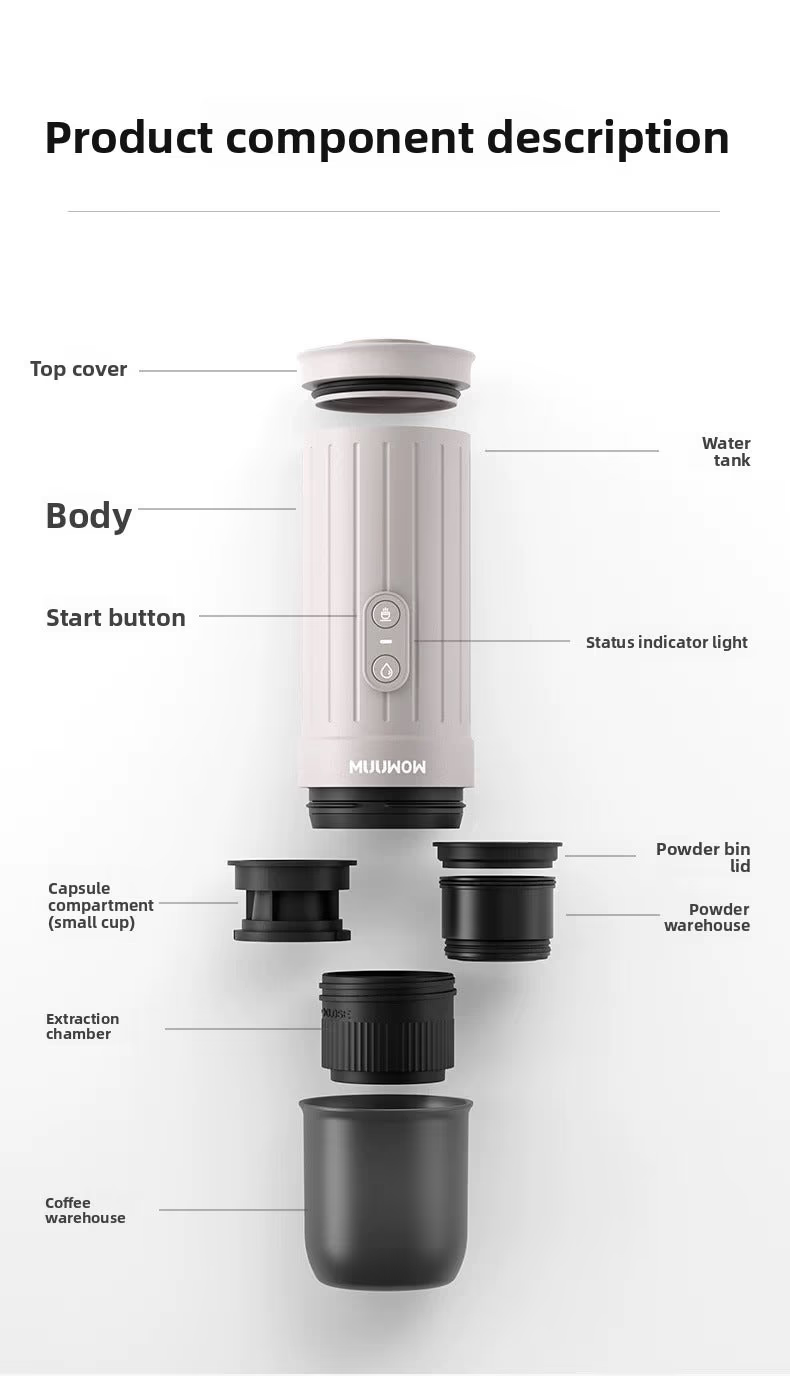
Nomads - Ember
$159.00
Shop Now →Field-Calibrating Your O-Rings
If your seal develops a slow leak mid-adventure, you can field-calibrate it with a couple of quick tricks:
Food-Safe Lubrication: A microscopic dab of food-grade silicone grease (or a drop of coffee oil in a pinch) restores flexibility to a stiff, dry seal. Seating Realignment: Remove the O-ring, clean the groove thoroughly with a cloth, and re-seat it evenly without twisting the rubber.
Mastering the pre-trip pressure check ensures your manual espresso routine stays rock-solid wherever the road leads. Pack smart, test before you leave, and keep the espresso flowing.
Got questions? Want to chat about your perfect espresso setup?