The Ski Touring Espresso Setup: How to Pack and Insulate Water for 9-Bar Shots on Frozen Summits
When I first started testing ViBrew gear in freezing backcountry conditions, I quickly learned that sub-zero wind is the absolute enemy of proper extraction. To keep things light and reliable off-grid without needing heavy power stations, gear choice is everything. That’s why I often rely on off-grid manual gear like the
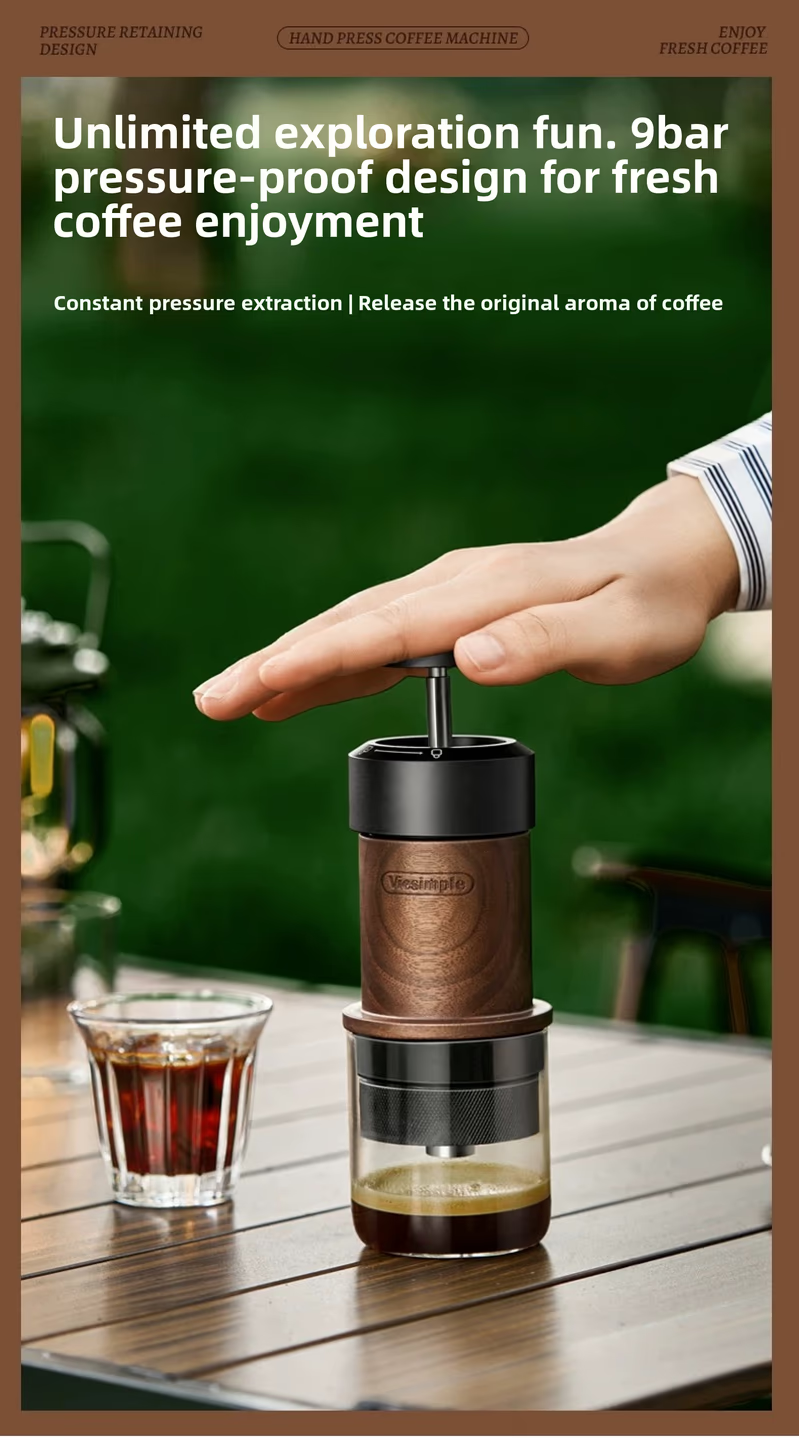
Nomads - Pulse
$139.00
Shop Now →Perfecting Your Ski Touring Espresso Setup on Frozen Summits
To pull authentic espresso when temperatures drop below freezing, thermal preservation is your top priority. Follow these three tactical rules for packing and insulating your kit:
Insulate Your Water Source: Pack boiling water in a high-grade vacuum-insulated flask. Always pre-heat the interior of the flask with scalding water for five minutes before filling it for the trail to minimize heat loss. Warm the Brew Group: Never pour hot water into a freezing brew chamber. Keep your portable espresso device tucked inside your mid-layer jacket pocket close to your body heat until the moment you grind and tamp. * Streamline the Workflow: Assemble, pour, and press quickly to minimize the time your hot water is exposed to frozen alpine air.
If you prefer a seamless, powered solution that solves the water heating dilemma directly on the peak, look at the
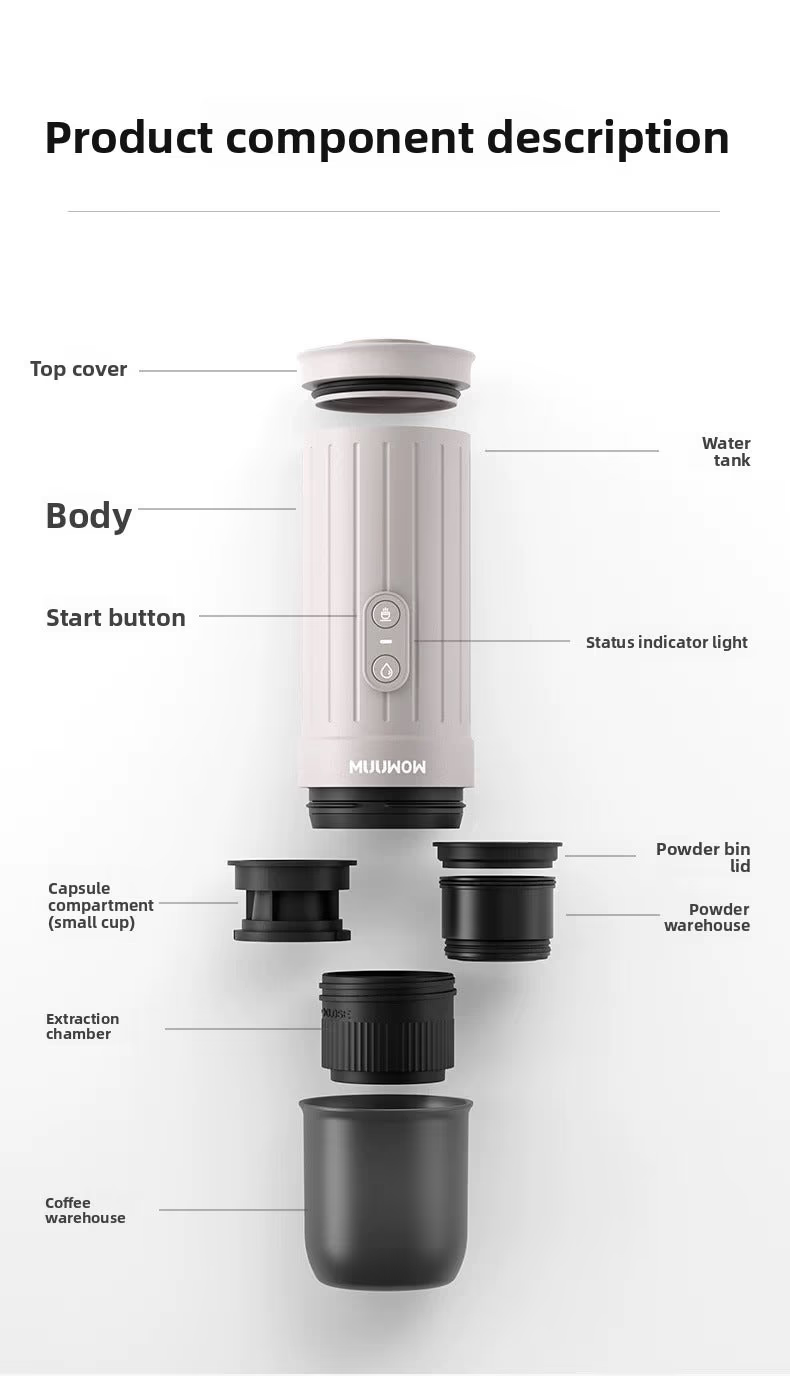
Nomads - Ember
$159.00
Shop Now →Summit Crema Worth the Skin Track
Packing light doesn't mean settling for mediocre instant coffee on the trail. By insulating your water properly, keeping your brew chamber warm against your body, and packing purpose-built gear, you can turn any frozen ridge into a high-altitude café. Dial in your setup, respect the elements, and enjoy the reward.
Got questions? Want to chat about your perfect espresso setup?